Swapping a hard drive (HD) for an SSD tends to be a great measure to make PCs faster, but formatting Windows can be a nightmare for some. Fortunately, it is possible to transfer your system to the new disk without having to worry about losing your files and programs. Another possibility is to migrate only what is essential, saving space in the new unit.
Whatever your interest, you need to keep in mind that any system procedure involves risk. That is, you may want to back up your most important personal files to a third disk or to the cloud to minimize the chances of any damage. That said, check out this Technology Refugee tutorial on transferring Windows from HDD to SSD without formatting.
Preparations
To start the procedure, the SSD must already be installed in the machine. It is not necessary to format it, as this process will be done automatically by the program that will be used. In addition, it is worth paying attention to the storage size of solid disks, as these are usually smaller than HDs and may not be enough to migrate only system data and not personal files.
Migrating
- Download the MiniTool Partition Wizard application;
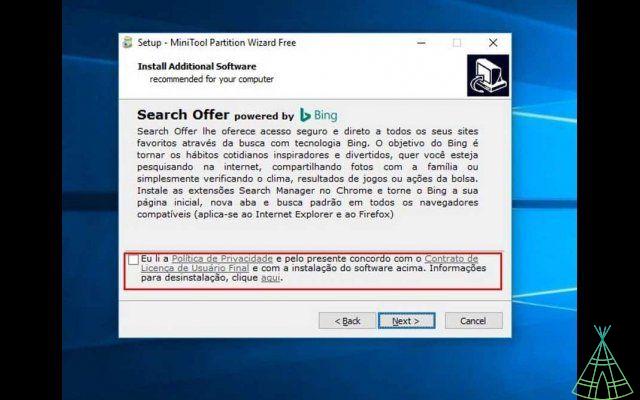
- Install them, but beware of the extra applications that are offered. They are not necessary for the procedures that we are going to perform, so uncheck any extra option that appears;
- If you haven't done a disk defrag recently, it's a good idea to do so before transferring your current installation to the SSD. For this, you can use Windows' own disk defragmenter. Remember that it is not recommended to defrag an SSD, so this step must be done before performing the migration;
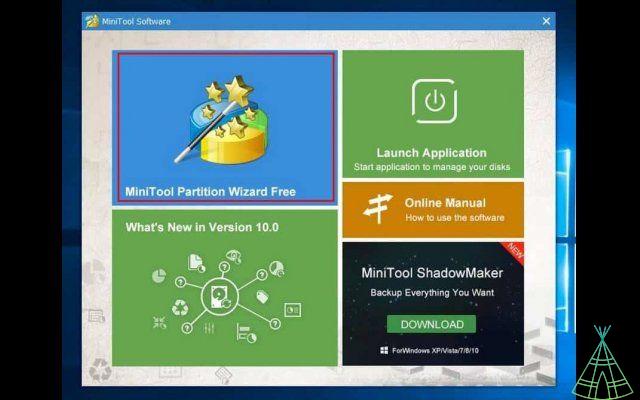
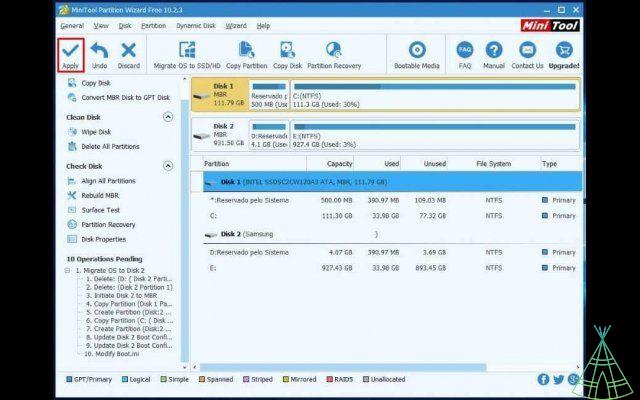
- When opening the application, click on “MiniTool Partition Wizard Free”;
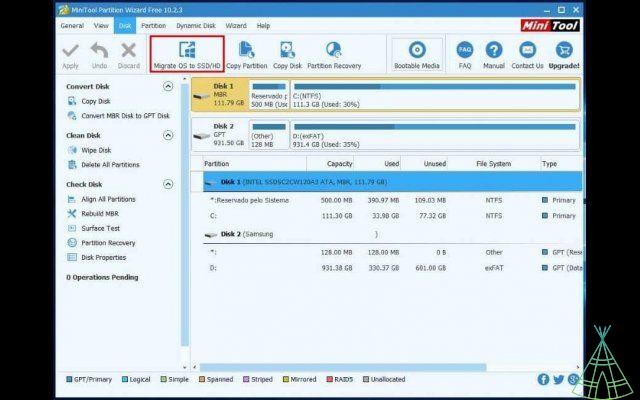
- On your main screen, look for the option “Migrate OS to SSD / HD”;
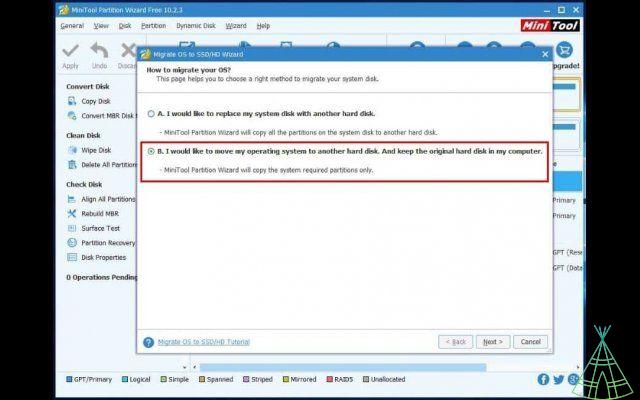
- In the new window, there are two options: the first allows you to migrate the system along with files and programs. The second, migrates only the essential components of Windows. Just in case, let's go back to the second option. However, if you're sure there's enough space on the SSD, feel free to choose the former;
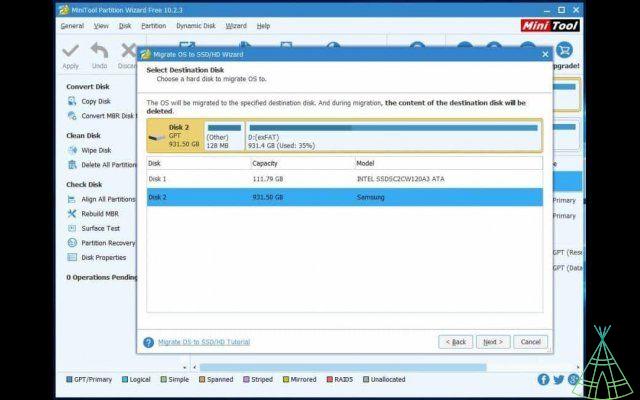
- Now select the SSD, and click "Next";
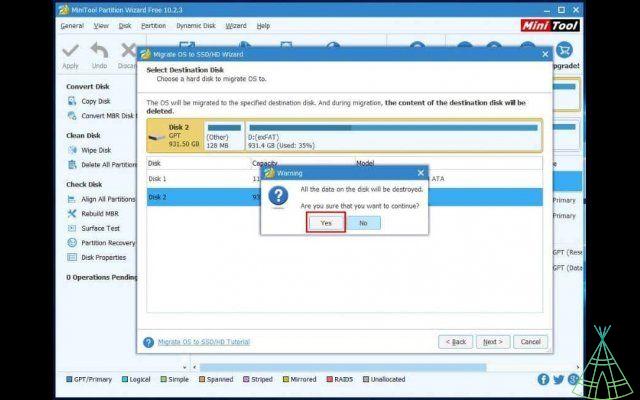
- A message will alert you that you will lose all the contents of the selected disc. Click "Yes";
- On this screen, select the first option. It will make the system fit on the SSD. If you prefer, you can create custom partitions in the options below. Click “Next”;
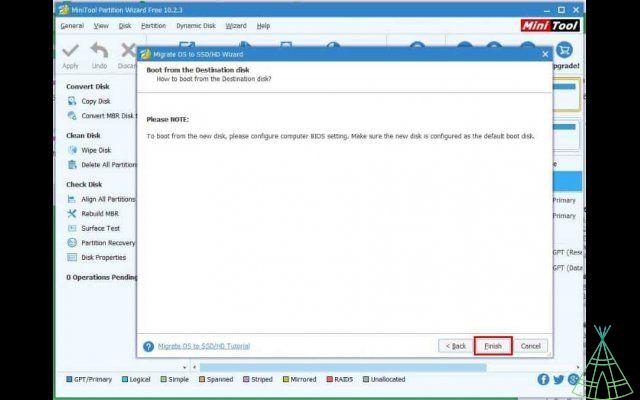
- In the new window, click on "Finish" and you will be back to the main screen of the program. Finally, use the "Apply" option.
If your progress bar is stopped for a long time and the MiniTool Partition Wizard does not show progress during one of the steps, it may be necessary to disable the antivirus while the task is being performed.
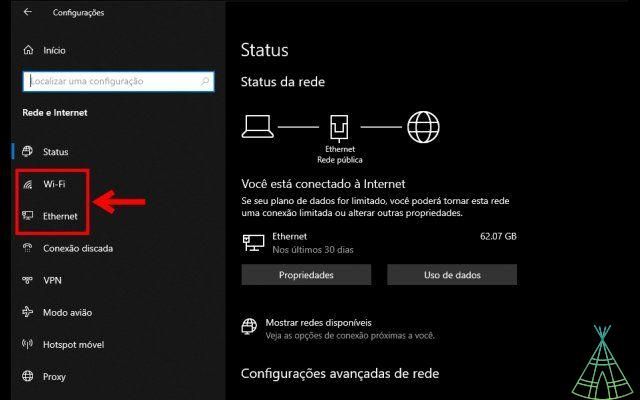
At this point all essential Windows files are already stored on the SSD. In order for your machine to start using it, however, you need to configure your computer's BIOS, which is usually accessed using the F2 or Del key during system startup. The option in which you will make the change is in the Boot tab, but the name may appear different due to its manufacturer.
Latest settings
o we made a migration instead of a clean installation on the SSD, it is important to activate the TRIM option, which helps to manage disk space. Follow these steps:
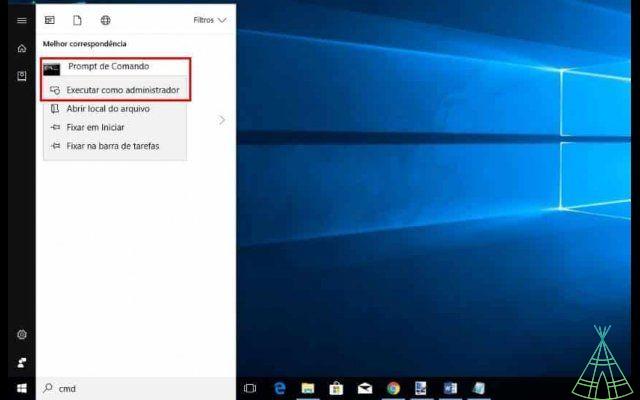
- Search for “CMD” in the start menu, and the right mouse button select the option “Run administrator”;
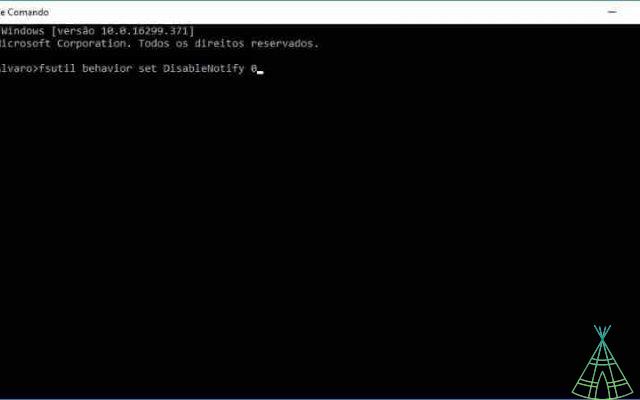
- Use the following command: “fsutil behavior query DisableDeleteNotify”;

- If the result is “0”, you can skip this step, otherwise use this link: “fsutil behavior set DisableNotify 0”.
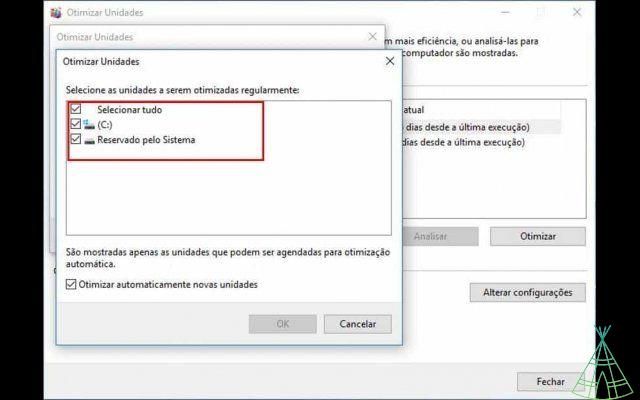
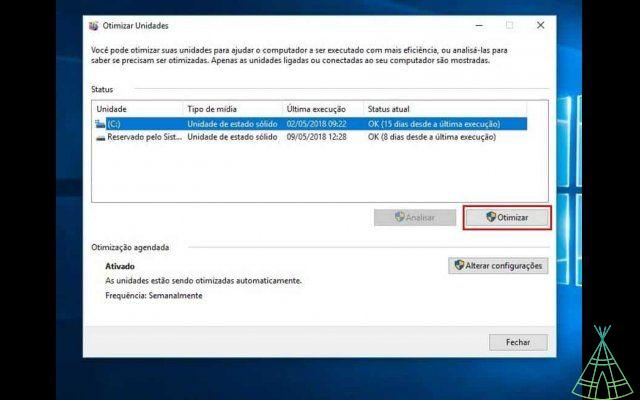
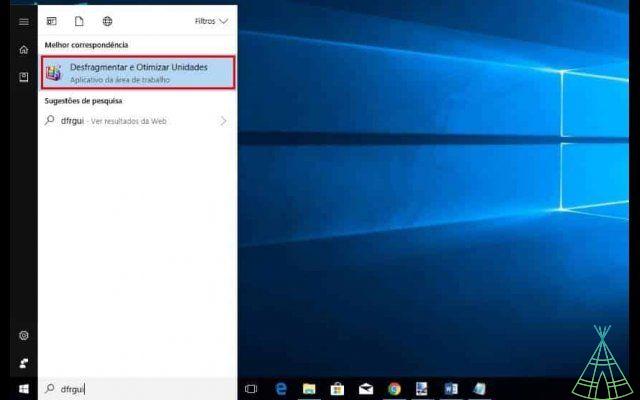
Now, it only remains to make sure that the SSD is not configured to be automatically defragmented, as we mentioned earlier, this is not an advisable task for it. See the following:
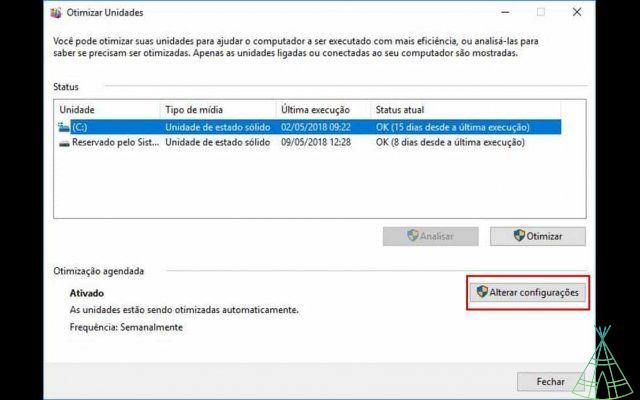
- In the start menu, look for “dfrgui”;
- When opening it, click on “Change settings”;
- In the new window, go to “Choose”;
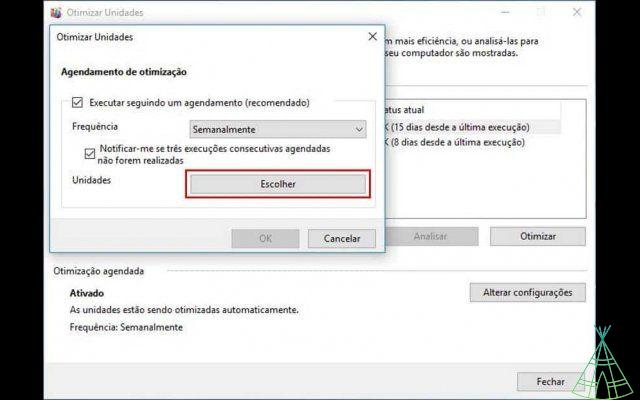
- Deselect the SSD in the list, and click "OK> OK> Close".